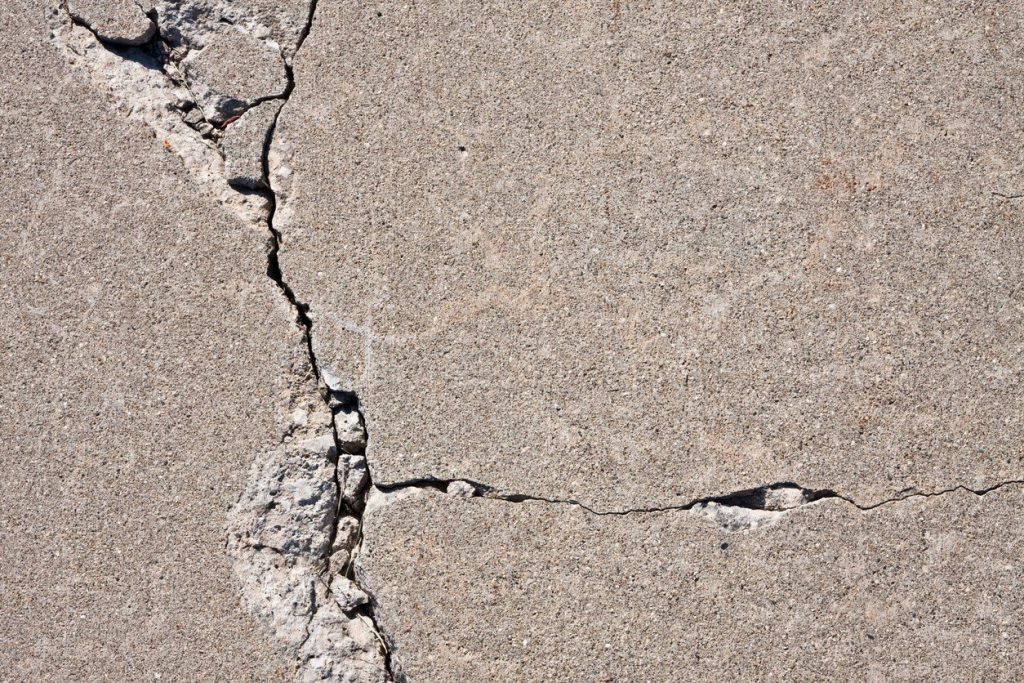
Cracks in the driveway are a cause of concern if left unattended for long periods. Not only do they look unattractive, but you may have to deal with costly resurfacing if the damage gets bigger. The quicker you are at catching and repairing a crack in the driveway, the longer it can be made to last.
There are many reasons why concrete driveways can crack. Heavy loads, shifts in the ground, tree roots, thawing could all cause damage to your concrete driveway. These are some things you should take care of to repair cracks in your driveway.
There are some things you should take care of before you begin to repair your driveway. It's a relatively simple DIY process that is inexpensive and won’t take much of your time. Once you repair your broken driveway, the curb appeal will go up instantly. Surface improvement will make your driveway last for years to come.
Before you begin resealing your driveway, take a look at outside weather conditions. You must have 24 to 48 hours of clear skies and it's ideal if the temperature is more than 50 degrees Fahrenheit. If there is any chance of rain at all in the forecast, call off the project at once and postpone it to a later date.
Always wear rubber gloves if you’re handling concrete fillers and resurfacers. Protect your eyes with safety glasses. When you’re working with concrete, you should go with long-sleeve shirts and long pants to protect your skin. Fixing cracks will involve a lot of knee work, so use knee pads.
Before you go about repairing the driveway, you should inspect the driveway to see what damage has occurred. With a weed-removal tool or spade, remove all visible weeds or grass sticking in the driveway’s surface or cracks. If there is any soft or crumbled concrete around the cracks, chip them away with a hammer.
Finish off by using a wire brush to eliminate all loose particles from the edges of the larger cracks and tiny holes. For a more thorough cleaning job, you can blast away the loose material with water from a hose or use air blast with the aid of an air compressor.
If your driveway is located in a shady spot, there is every chance of moss infestation. You can use a pressure washer to get rid of it. Bleach is a spray bottle that will do a thorough job of eliminating moss. You can use a scraper to lift it off the surface.
Finish the cleaning with a broom or leaf blower to eliminate dirt, dust, acorns, leaves, and debris from your driveway.
The next step is all about hosing the drive. The more power, the better! Clean the driveway surface thoroughly with a power washer or a pressure washer. Begin from uphill, and then work from one side to the other or from the center to the sides. This way, the dirt will not wash back to the cleaned spots.
You should allow the driveway to completely dry before you start to fill the cracks and reseal the surface.
You should fill hairline concrete cracks using a patching compound. Apply a concrete bonding adhesive or primer additive for the intact bond between the patching material and the old surface.
With an inexpensive and old paintbrush, fill the liquid into the surface. With a putty knife or trowel, apply a vinyl patching compound in multiple layers, applying force to firmly press the base layer into every nook and cranny. You should allow some time to dry between each layer as you do.
Thin cracks can be patched with a cement mixture by mixing one part cement and three parts water to make a nice, thick paste. You can also make use of cement paint and paint the inside of the crack for the primer. If you have any cement paint mixture left, you can take the paste mixture and stuff it firmly into the cracks using a trowel or putty knife. Level the mixture.
You should leave the patch undisturbed for an hour, then use a trowel to rub in circular motions so that the cement patch blends well with the surface surrounding it.
For cracks more than ½” deep and ⅛” wide, use foam backer rods. With a putty knife, insert the flexible rod into the crack placing it ¼” under the surface. Now it becomes as simple as patching a small crack; smoothing the patch with a trowel should do the trick!
All that's needed is to allow it to sit for a couple of hours before covering it with a plastic sheet. You can keep it in place with bricks. Cover the whole area for around a week, and sprinkle with a little water to maintain the moisture content. You may have to apply a second coat a day after you are done applying the first one.
That is it! Your driveway should look as good as new! Give it a day or two before driving or walking in the repaired area.
[LEARN MORE]:

© 2026 Ricky's Bobcat. All rights reserved.
